
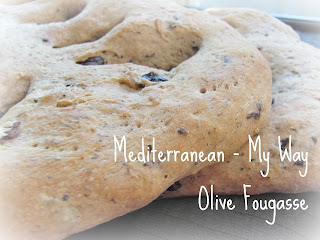
A couple of our local bakeries make this delicious bread, Olive Fougasse, a popular French bread sort of comparable to a more rustic Focaccia, and I've always been in love with it. It's salty, flavourful, and has olives in it - not to mention, it's fun to break apart. What's not to like? The only issue I've had is that it costs about $5 in the store... Kind of a lot in my books. So when I got my breadmaker last year, naturally I went on the hunt for a comparable recipe. And here it my version. The original recipe can be found HERE, and if you want to make this bread by hand, you should check out the method used, as I always use a breadmaker and I changed it up to work with the machine. I've also adapted the recipe a bit, first of all I opted for quick-rise yeast, which makes the process a lot quicker, and I also changed out some of the regular flour for whole wheat. By the way, I estimate that this bread costs about $2 for two loaves. Pretty great savings.
Ingredients:
1 2/3 cups plus 2 teaspoons water
1 3/4 teaspoons quick rise yeast
1 teaspoon sugar
4 1/2 tbsp plus 1 tbsp extra-virgin olive oil
3 1/2 cups all-purpose flour (plus extra in case dough is too wet)
1/2 cup whole wheat flour
1 1/4 teaspoons salt
1 cup oil-cured black olives, pitted and coarsely chopped
1 tablespoon minced fresh rosemary, or 1 tsp dried
Grated zest of lemon or 1/2 orange (I used a grapefruit, it's what I had available)
Kosher salt or other coarse salt, for sprinkling

Get all of your ingredients out and ready. I realized a couple of years ago that the easiest way to pit an olive is to squash it with the back of your knife first, sort of like a garlic clove.

Then you can easily tear it open, and pull out the pit.

First, add all ingredients except rosemary, olives, and the 2 tsp water and 1 tbsp oil to your mixer, and mix on the dough cycle. Before the last "spin," add the olives and rosemary. I found on this particular day (remember, weather really changes dough consistency) that I needed to add a lot more flour when I added the olives. I added a big spoonful at a time, but I'd estimate about 1/3 to 1/2 of a cup more. You can tell by looking at the picture that this is a wet, soft dough by nature, because it's not as smooth as a normal dough, but you have to make sure that it forms a ball, and doesn't sort of spin off because its too wet at the bottom of the machine.

Pull the dough out of the mixer, and cut it in two.

Stretch out the dough by hand into a rectangular-ish shape of about 12' by 7 or so.

Ideally use a pizza cutter, otherwise a small knife, to make 4 diagonal slits on each side of the dough, sort of imitating veins on a leaf. Pull on the slits to make holes of at least 1' by 2'. Transfer the dough onto a baking sheet, and even better onto a Silpat  baking liner. Repeat with the second dough, or save it in the fridge for up to 3 days. I personally opted to bake them both, and ended up freezing the second one for another day. Bonus!

Let the dough rise for about 15 minutes, covered. In the meanwhile, preheat the oven to 450° F. Then, prick the dough lightly with a fork, and brush with the remaining olive oil and water, which need to be mixed together. Sprinkle with kosher salt. Bake for 10 minutes on the middle or lower rack, and then rotate the pans and bake for another 10 minutes. I must say I cooked mine for a little longer than that. Maybe 3 minutes, but always gage depending on your own oven.
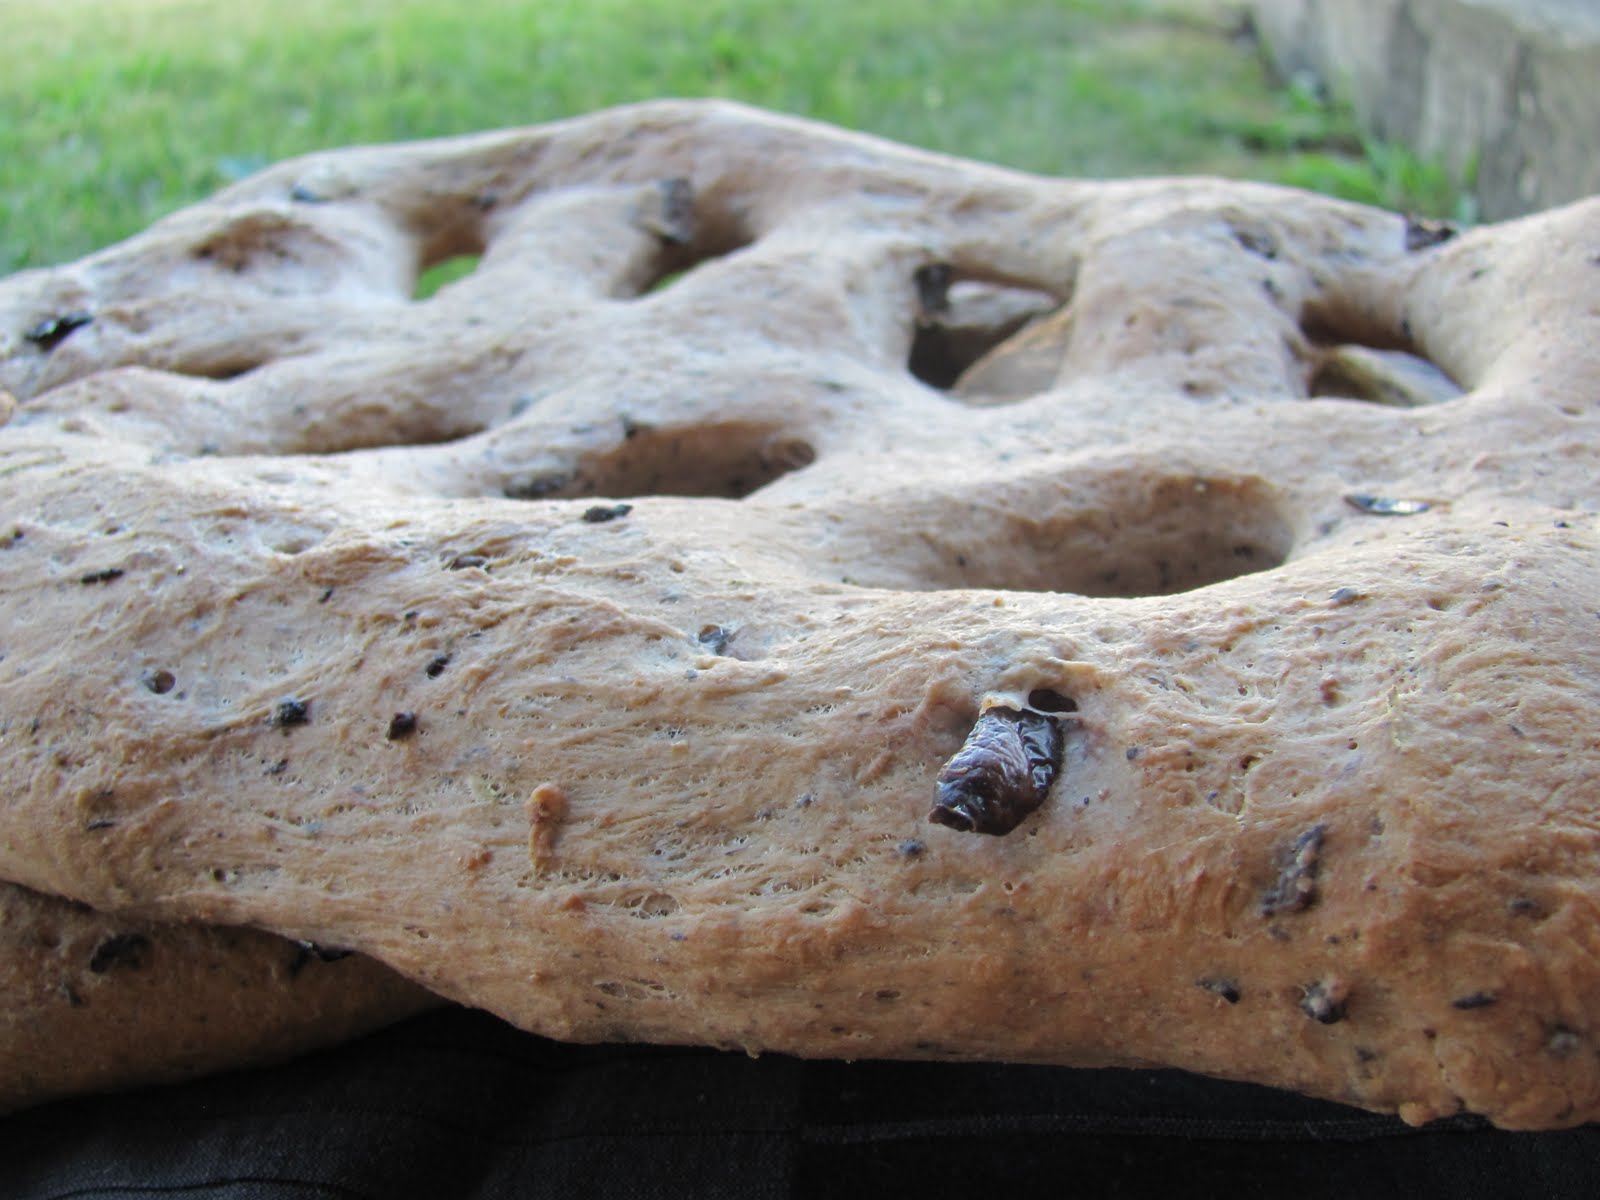
Et voilà! This bread sounds like it has lots of steps, but actually was really quick to make. It would be great on an hors d'oeuvre table, with any meal or even on it's own.
Bon appetit!
That bread looks yummy! I've always fancied a bread maker - but I'm afraid if I got one we'd eat FAR too much yummy bread!!
ReplyDeleteThanks for linking to a Round Tuit!
Hope you have a great week!
Jill @ Creating my way to Success
http://www.jembellish.blogspot.com/
Thanks for sharing, looks great! Saw you on link party, now google following you, Karima x www.karimascrafts.com
ReplyDeleteI have never had this kind of bread before! It looks absolutely beautiful though!
ReplyDeleteThis recipe looks really good! It would be great if you came over to Cast Party Wednesday tomorrow and shared some of your recipes.
ReplyDeleteThanks,
I hope to see you there!
Thanks for stopping by everyone!
ReplyDelete